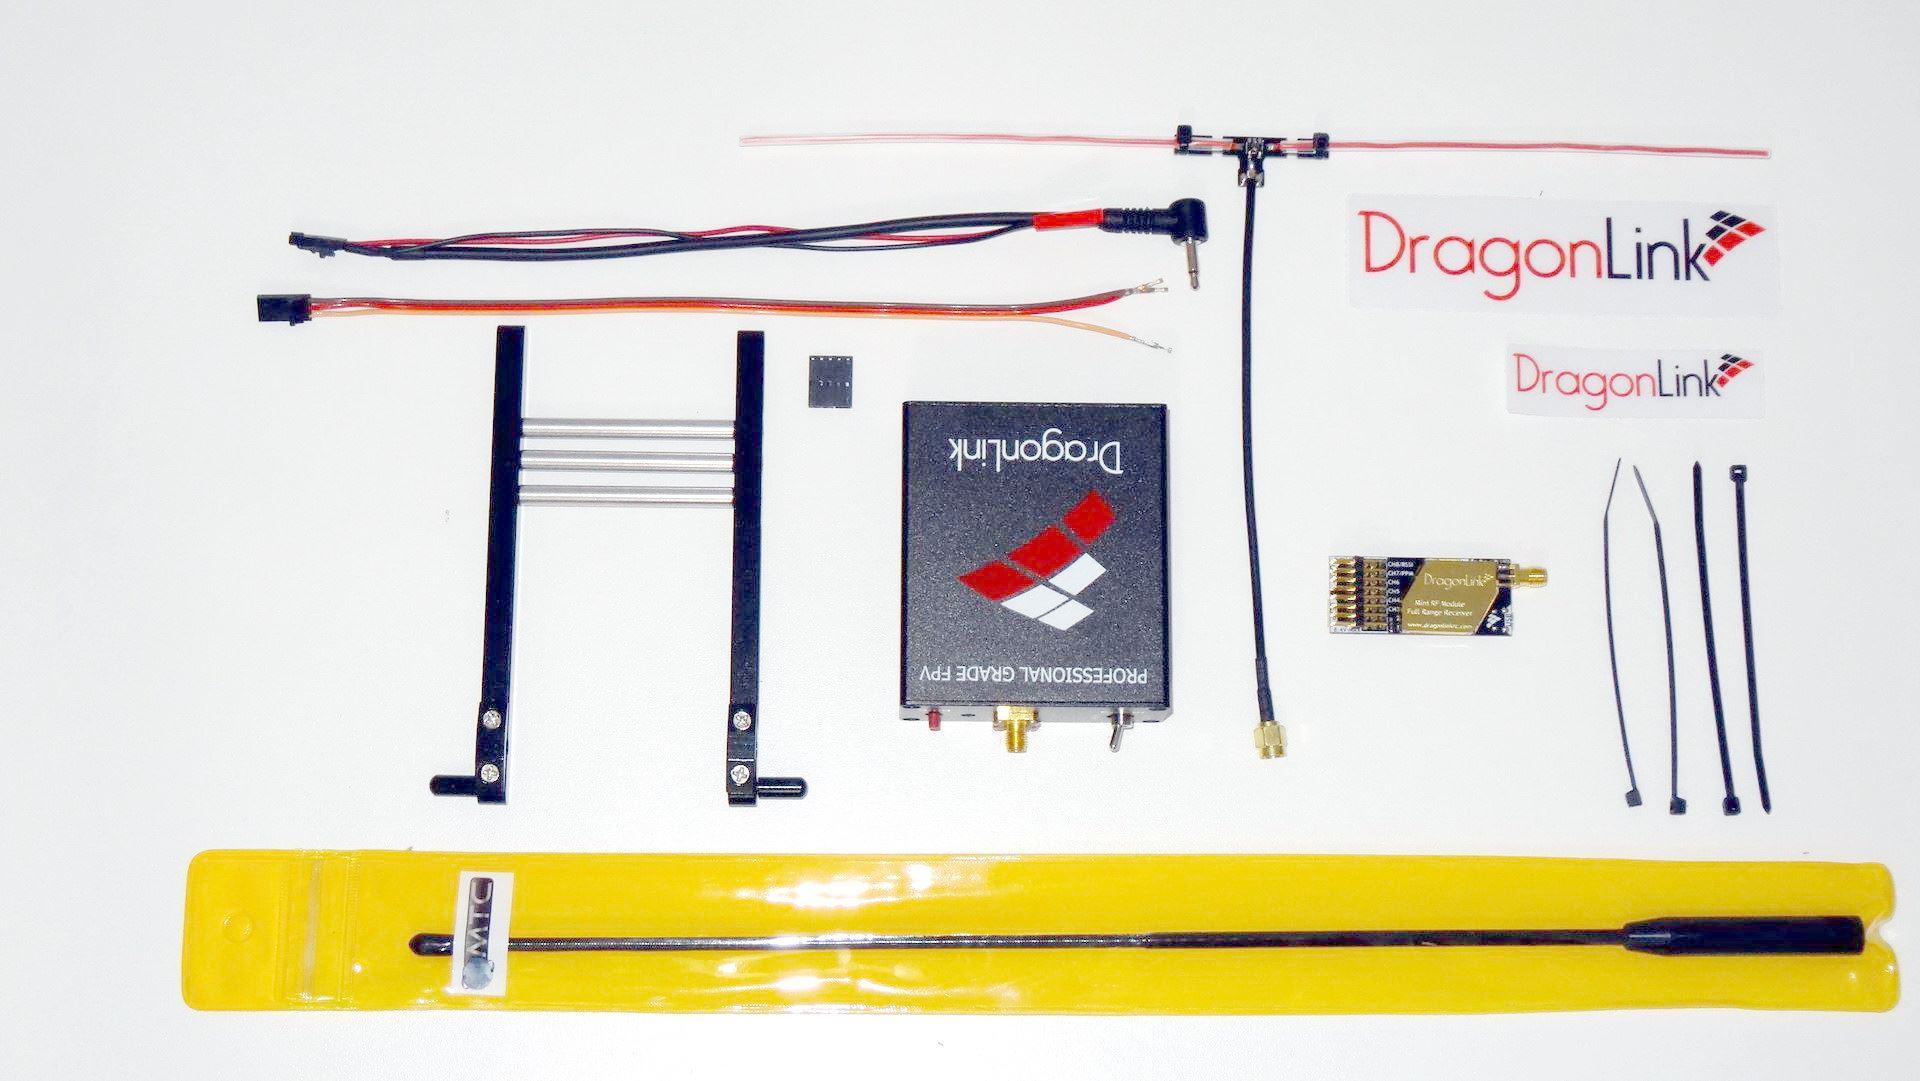
FIRMWARE UPDATE WARNING: If your V2 system shipped or was updated after MAY 2015, do NOT attempt to update the firmware. The MAY 2015 firmware is absolutely perfect, and there are no more updates after this date. You only risk errors by updating firmware when it is not needed.
DRAGON LINK SYSTEM QUICK SETUP INSTRUCTIONS
STEP 1 - CONNECT DRAGON LINK TRANSMITTER: Connect Dragon Link to your RC transmitter, and assure that you have a GREEN LED on the Dragon Link transmitter. The GREEN LED indicates that you have both power and valid signal from your RC transmitter, and is required before proceeding to the next step. The Dragon Link will not bind or work until the Transmitter LED turns GREEN when you turn the system on. A RED LED indicates there is power, but no PPM signal. If you have a RED LED, make sure your Trainer or DSC Port is activated in your RC transmitters computer menu.
STEP 2 - CHANGE ID ON TRANSMITTER: Hold down the BIND button on the Dragon Link Transmitter and power the Dragon Link Transmitter on. Continue to hold down button for approximately 15 seconds while the LED on the transmitter cycles through its different colors. When the LED on the transmitter TURNS OFF, release the button and then turn the Transmitter OFF. The ID of your transmitter is now changed.
STEP 2 - BIND: Hold down the Bind button on the Dragon Link Transmitter and turn on the system, continue to hold down the bind button on the Dragon Link Transmitter until the LED turns YELLOW, release the button and it will FLASH YELLOW. Now power the Dragon Link receiver, and the GREEN LED should FLASH GREEN. See video below for complete instructions. Once the receiver FLASHES GREEN, turn of the transmitter and receiver, and repower normally.
STEP 3 - CALIBRATE MICRO RECEIVER: See video and download links below for the required software, and follow the instructions in the video. When this is complete, you should have a SOLID BLUE LED on the Micro Receiver, this indicates a perfect link and properly operating system. Install receiver into your plane or copter, setup, and range test.
For instructions on how to bind and calibrate the Micro Receiver, see this video: https://www.youtube.com/watch?v=sUCGU-Zq7yE To download the Micro Receiver software go to: https://dl.dropboxusercontent.com/u/3947315/MicroRx_latest_version/MicroRx_latest_release.zip
STEP 4: RANGE TEST IN MICRO POWER MODE: Hold down the BIND button on the RC Transmitter and power it on, continue to hold for approximately 3 seconds until the LED turns GREEN, then release button. The LED on the Dragon Link Transmitter should FLASH GREEN. Set the Transmitter on a table with its antenna installed and VERTICAL. With antennas installed and plane or copter ready to fly, pick up your aircraft ( Have props removed for safety !!!! ), and walk away from the transmitter until the plane starts to go into failsafe more than 1/2 of the time. Not the first failsafe, but where the failsafes are continuous. You should get at least 10 meters, or 30 feet before the failsafes become constant. If you get this range, you have full performance and are ready to fly. If you get significantly less distance on your range test than 10 meters ( 30 Feet ), contact support or post on the forum for help.
TRANSMITTER MODES: To enter the different modes of the Transmitter, HOLD down the BIND button while you turn the Transmitter on. The LED will cycle through different colors indicating different modes, relase the button at the color ( mode ) you want, and the transmitter will enter that mode. To return to normal operation, simply repower the transmitter while NOT pushing the button.
1. MICRO POWER MODE: Hold down the bind button, power on, in approximately 3 seconds, the LED will turn GREEN, release button. You will now see a FLASHING GREEN LED on the transmitter.
2. BIND MODE: Hold down the bind button, power on, in approximately 6 seconds, the LED will turn YELLOW, release button. You will now see a FLASHING YELLOW LED on the transmitter.
3. SERVO TEST MODE: Hold down the bind button, power on, in approximately 9 seconds, the LED will turn RED, release button. You will now see a ALTERNATING RED AND GREEN LED on the transmitter.
4. ID CHANGE MODE: 1. MICRO POWER MODE: Hold down the bind button, power on, in approximately 12 seconds, the LED will turn OFF, release button. You will now see a DARK LED on the transmitter. ID has been changed.
FIRMWARE UPDATES: Your V2 transmitter ships with the latest and best firmware already installed. It is the Next Generation 1280 MHZ friendly firmware. There is NO NEED, and we recommend that you do NOT to update the firmware on any Dragon Link V2 transmitter shipped by us after MAY 2015.
TRANMITTER SPECIFICATIONS:
Input Voltage: 5 - 18 Volts ( Any 2 - 4 Cell Lipo ) of 1000 mah or larger will work perfectly.
Power Usage: About the same as a normal RF module, most RC systems will work for hours when the Dragon Link transmitter is powered and operating.
MICRO RECEIVER SPECIFICATIONS:
Fully Compatible with ALL flight controllers, autopilots, and airborne devices.
Input Voltage: 5 - 8 Volts
Channels 1 - 6 Standard Servo ( PWM ) outputs by default
Channel 7: PPM output by default
Channel 8: RSSI output by default.
MANY additional modes and features, see the .pdf manual, and also receiver software linked above for more information.