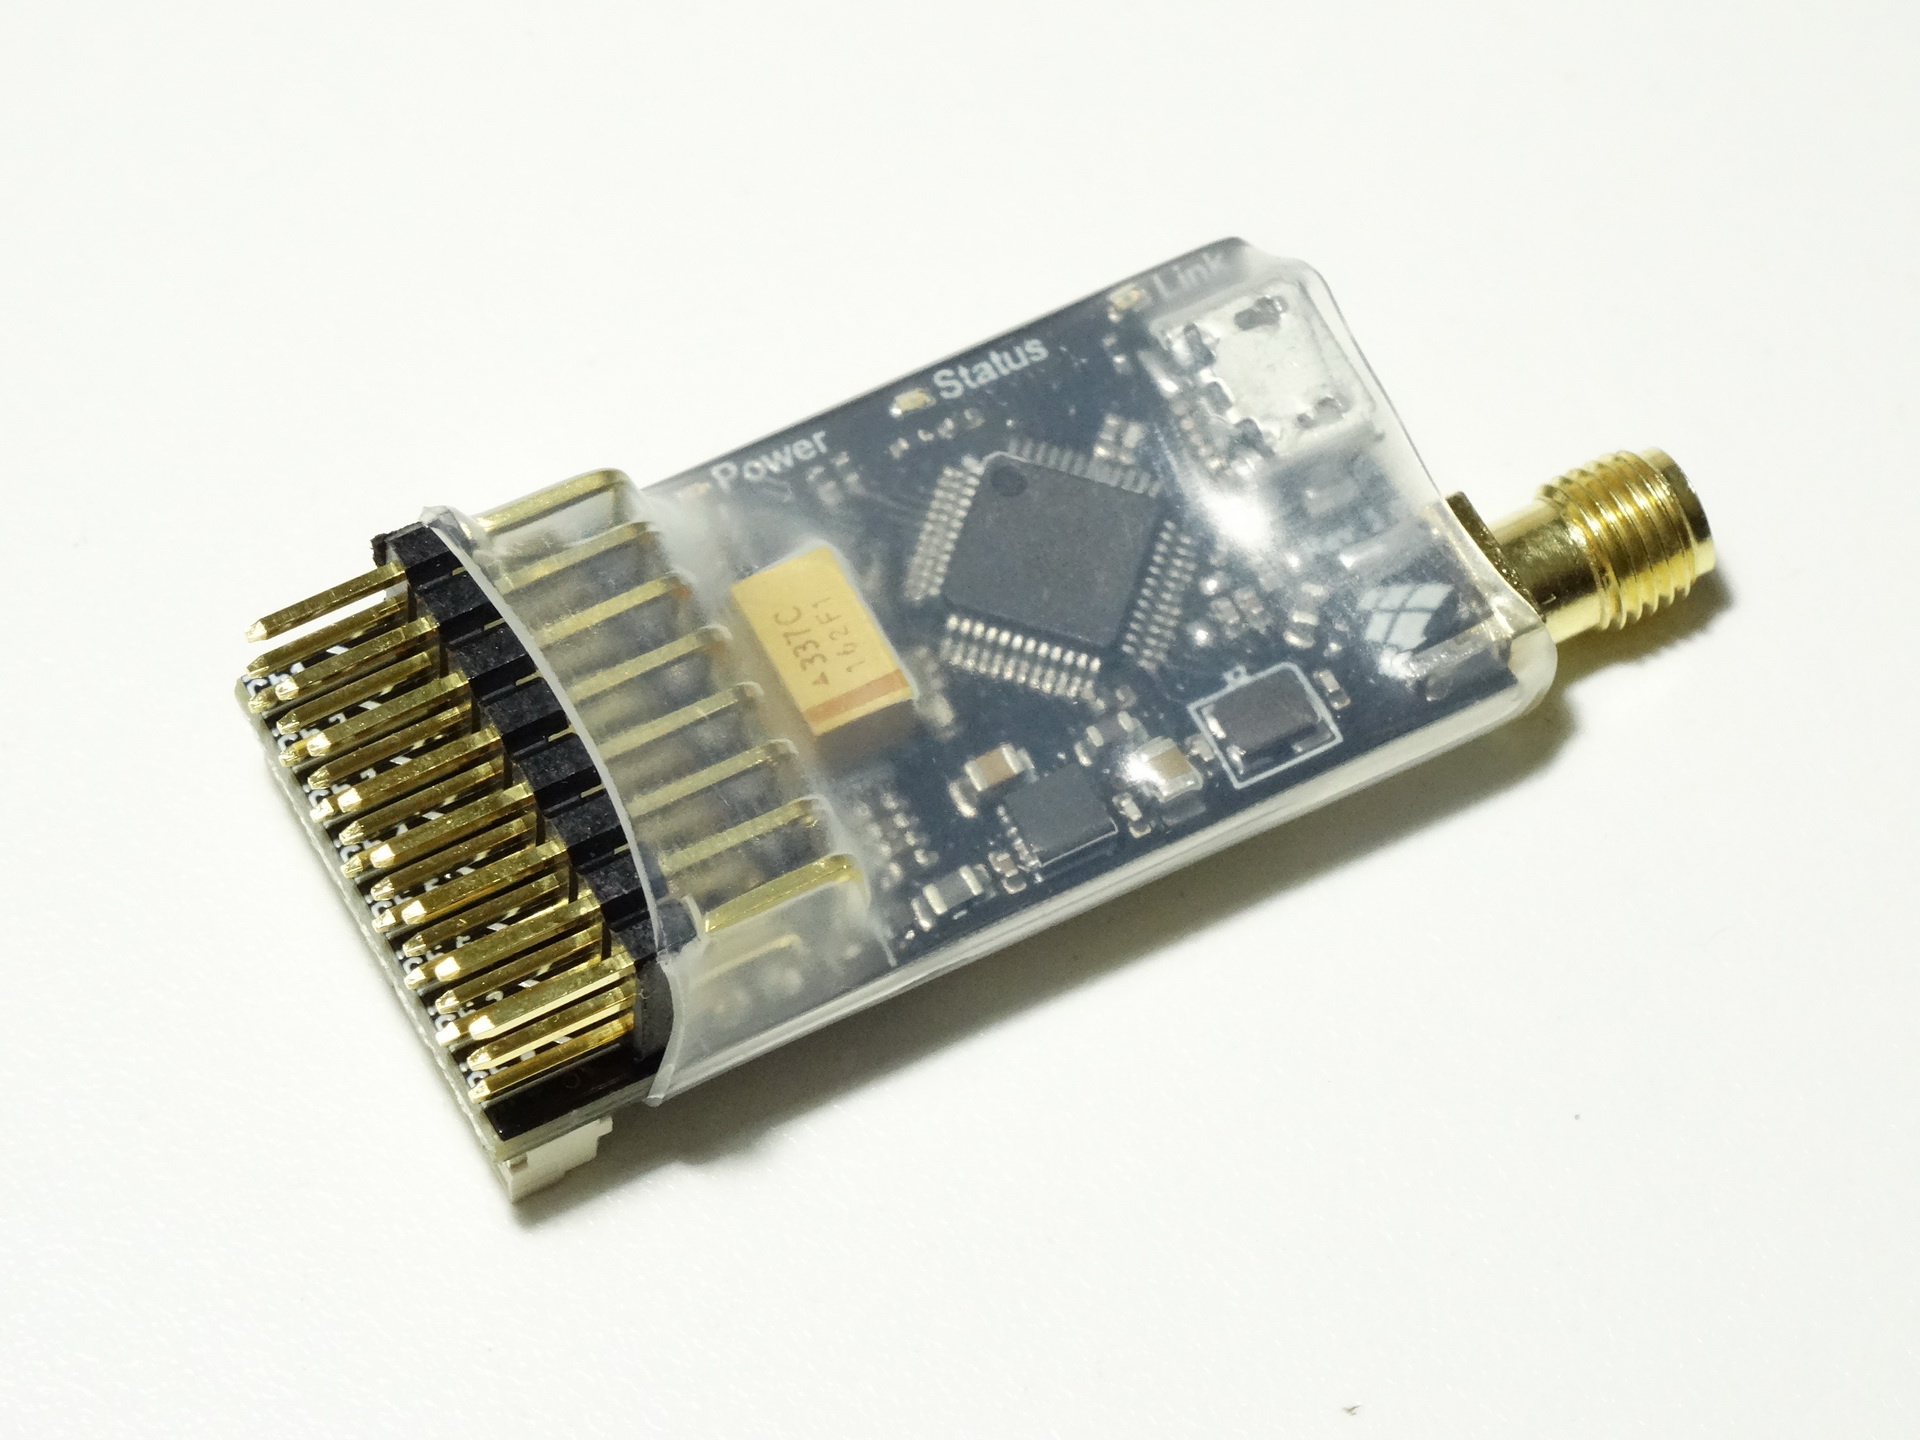
QUICK SETUP INSTRUCTIONS:
NOTE: Your Dragon Link Transmitter MUST be running the NEXT GENERATION FIRMWARE to use this receiver. If you Dragon Link transmitter was shipped BEFORE MAY 2014, you must update its firmware before it will work with the Micro Receiver.
ALL MICRO RECEIVERS EVER MADE will work with full telemetry capability with the V3 system. If you upgrade to the V3 system, simply go to the V3 section, download the V3 firmware, and install it into your micro receiver.
1. BIND RECEIVER: Put Dragon Link Transmitter in binding mode ( Flashing Yellow LED ) on the transmitter first, then power on the Micro Receiver ( 5 - 8 Volts Only ). You should see a SOLID RED LED and a FLASHING GREEN LED on the Micro receiver. This indicates a successful bind.
2. CALIBRATE RECEIVER: Connect the Micro Receiver to your computer via the Micro USB Port, using any standard Micro USB cable such as you would have for your phone or camera. Download the software below and run DragonLink_Config_x_x program from the software below, and run the calibration process. For details, see the video below. If the program prompts you to update your receiver, run the DragonLinkFirmwareUpdate and update it. The firmware update is quick and easy.
3. CHECK OPERATION: Power on the Dragon Link Transmitter normally ( SOLID GREEN LED on Transmitter ). Then power on the receiver, you should see a SOLID RED, SOLID GREEN, and SOLID BLUE LED. The SOLID LED indicates a perfect RC link. A FLASHING BLUE LED is a problem and must be corrected before flight ( Change Micro RX RF Protocol setting and recalibrate to fix ).
4. MOUNT RECEIVER ANTENNA ON PLANE OR COPTER: For antenna mounting instructions and tips, see the Dragon Link Receiver Antenna support page.
MICRO RECEIVER LED INDICATIONS:
SOLID RED = POWER APPLIED TO RECEIVER
SOLID GREEN = RECEIVER PROCESSOR IS RUNNING
SOLID BLUE = VALID, PERFECT RF LINK. ( Receiver is bound and communicating perfectly with transmitter )
FLASHING BLUE = Bad or weak RF signal. ( Change RF Protocol OR Calibrate receiver to solve this, see details below ) ( This is NORMAL when range testing or when signal is very weak )
FLASHING GREEN: SUCCESSFUL BIND ( Repower before use )
SOLID RED, SOLID GREEN, NO BLUE = No valid RF signal being received.
FLASHING GREEN AND BLUE TOGETHER = Receiver Faults: ( 2 Flashes = Receiver Voltage above 8.2 Volts and to high reduce voltage ) ( 3 Flashes = Memory Error ) ( 4 Flashes = Chip Fault )
The Micro Receiver is a full 12 Channel receiver, and is capable of outputting PPM, SBus, and your servo outputs at the same time. By default the receiver outputs standard PWM servo outputs on channels 1 - 6, PPM on channel 7, and RSSI on channel 8. All you need to do to change this and use the full 12 channels is to connect the Micro USB port on your Micro Receiver to your computer using any standard Micro USB cable that you would have for your cellphone or camera. Then run the configuration software, and you can assign the pins to function as any channels you want. For example, connect all flight control channels to your flight controller using the single PPM output, and then assign the rest of the channel pins to higher channels and connect your servos and accessories to those. This way you can use 12 channels with only 8 pins. https://www.youtube.com/watch?v=sUCGU-Zq7yE
If you have a FLASHING BLUE LED on your Dragon Link receiver, this is very easily fixed ! This is either an incorrect RF Protocol setting OR the need to calibrate the receiver. Follow these easy steps to fix it:
1. BIND your receiver to your V2 Transmitter, then power off system.
2. Power on both Transmitter and receiver, connect the receiver to your computer, and run the CALIBRATION under the calibration tab in the computer control software.
3. If you get a " CALIBRATION SUCCESSFUL " Message, you are done. Repower the system and the LED should be SOLID BLUE.
4. If you get a " CALIBRATION FAILED " Message, go to the settings page and change the " RF PROTOCOL " setting. There are only 2 choices, so choose the other one, then click SAVE SETTINGS
5. Power Everything off, Power Transmitter and Receiver ON again, and REBIND.
6. Power everything off, and Turn Transmitter and receiver ON again, and RUN CALIBRATION again. It should give a " CALIBRATION SUCCESSFUL " message. Repower everything and you should now have a SOLID BLUE LED.
